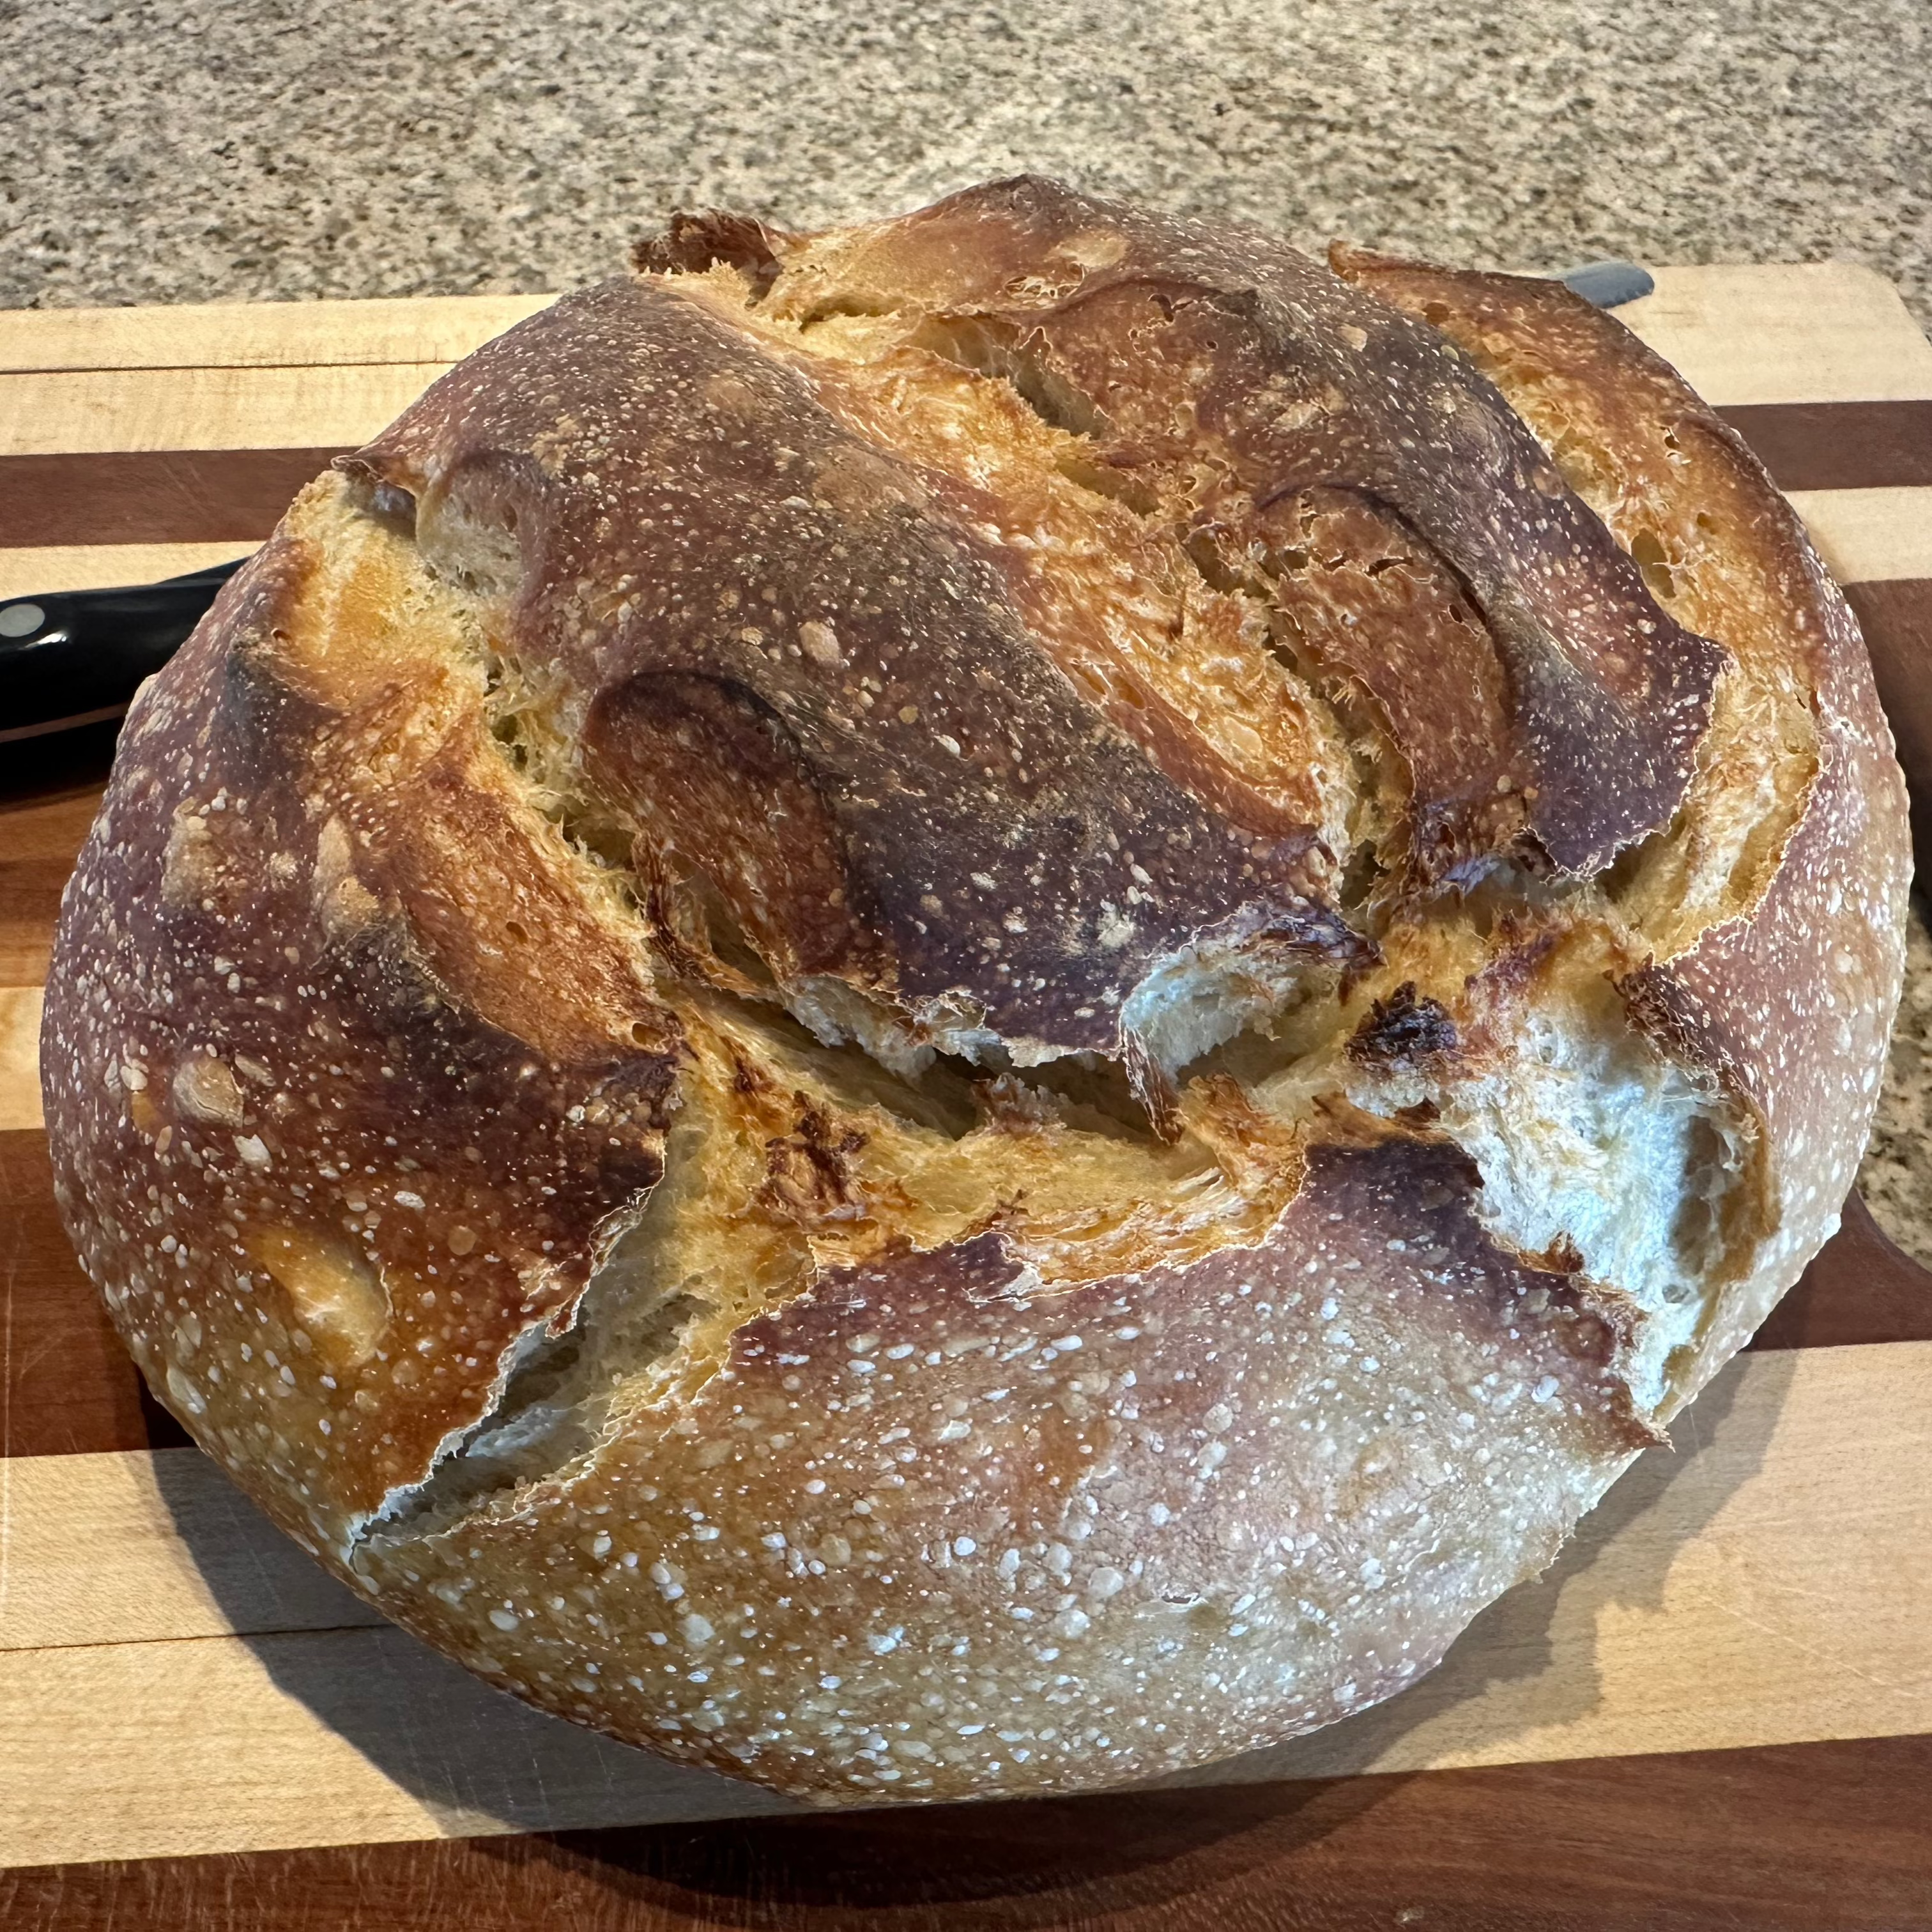
Why Homemade Sourdough?

Sourdough isn’t just delicious—it’s better for you! Thanks to its natural fermentation, it’s easier to digest, contains fewer phytic acids (which helps your body absorb nutrients), and has a wonderful depth of flavor you won’t get from store-bought bread. Plus, sourdough is packed with probiotics and prebiotics that support gut health and digestion. It’s made with just four simple ingredients—no preservatives, no additives, just real food—giving you full control over what you’re eating.

Sourdough can be a wonderful choice for those who limit gluten. For instance, my dad, who has diabetes and follows a low-carb diet, hadn’t been able to enjoy bread for years. His doctor recommended he try sourdough, and after carefully monitoring his blood sugar, he found that it didn't cause any spikes. Similarly, my niece has gluten sensitivity, but with this sourdough, she’s able to enjoy a slice without any issues.

Of course, everyone’s health situation is unique, but many people with dietary restricitons find that homemade sourdough can be a great alternative. Want to ensure you are eating organic? And the best part? It’s incredibly satisfying to bake your own loaf from scratch!

Now, let’s dive in and learn how to make your own perfect, easy sourdough loaf!

The No-Fuss Guide to Perfect Sourdough

Equipment You'll Need:

Food scale (for precise measurements)

Large bowl (similar in size and shape to your baking vessel)

Cast iron Dutch oven with lid (or two loaf pans if you prefer)

Spoon (for mixing)

Whisk (for combining the starter and water)

Measuring container (for the flour, salt, and water)

Bowl scraper (a spatula works fine, but I love my bowl scraper)

Ingredients:

113 grams (4 oz) Tracy's Sourdough Starter

340 grams (12 oz) filtered water (cool or at room temperature, not warm)

567 grams (1 pound, 4 oz) organic, unbleached flour

20 grams (3/4 oz) salt *see note below for using less salt

Let’s Get Baking!

1. Mix the Dough

Grab your scale! (Trust me, it’s worth the investment. Tracy's Sourdough will have one for you soon!)

Measure out 113 grams (4 oz) of sourdough starter and 340 grams (12 oz) of filtered water.

Whisk them together to get the starter nicely dissolved in the water.

Add 567 grams (1 lb, 4 oz) of organic, unbleached flour and 15 - 20 grams (3/4 oz) of salt.

Stir everything together with a spoon, then knead it a few times until the dough comes together.

Cover the bowl with plastic wrap and let it rest. Easy peasy!

Pro Tip: If you use less salt (around 15 grams), you’ll need to shape the dough for its second rise as soon as it doubles in size, which typically happens between 10-24 hours. If you use 20 grams of salt, it slows down yeast activity, giving you more flexibility—you can wait up to 30 hours before proceeding to the next step. Adjust the salt based on your schedule and taste preferences.

2. Stretch and Fold (Optional)

After about an hour, wet your hands and gently stretch one edge of the dough upward, then fold it over itself.

Rotate the bowl a quarter turn and repeat the stretch and fold.

Do this on all four sides for a total of four stretch-and-folds.

You can repeat this process every 30 minutes a few times, but one round is often enough before letting the dough rise.

3. Let the Dough Rise

Leave the dough at room temperature, lightly covered, until it doubles in size (typically 12-24 hours).

The rising time depends on your kitchen temperature and the activity of your starter.

Pro Tip: Use a bowl that’s similar in size and shape to your baking vessel.

4. Shape the Dough

When the dough has doubled in size, lightly flour your counter and using a bowl scraper, gently transfer the dough from the bowl.

Be gentle—don’t punch it down!

Shape it by folding the dough over itself and tucking the edges underneath to form a tight ball.

Spray your dutch oven with a little cooking spray, or use a tiny bit of oil, and place the dough into the greased dutch oven (or loaf pan, if using).

Cover with the Dutch oven lid (or another loaf pan if using a loaf pan).

Let the dough rest for 90 minutes before baking.

5. Bake the Sourdough

Score the top with a scoring lame, razor, or knife - or simply snip with sharp scissors (about 1/2-3/4 inch deep).

Place the dough in a cold oven (do not preheat).

Set the oven to 425°F and bake covered for 45 minutes.

Remove the lid and bake for 15 more minutes to get that beautiful golden-brown crust.

Cool on a wire rack for at least 1 hour before slicing. It’ll smell amazing, and trust me, waiting is the hardest part!

If You’re Using a Loaf Pan

If you prefer a more classic loaf shape, you can use a loaf pan. Just roll the dough into the shape of the pan, place it in a greased loaf pan, and cover it with another loaf pan to serve as a lid. Let it rise for about 90 minutes, then bake just like the Dutch oven method—425°F for 45 minutes with the lid on, then 15 more minutes with the lid off.

Let it cool for at least an hour before you dig in!

Taking Care of Your Starter

No need to waste starter or constantly feed it! Our ancestors cherished every bit of their ingredients, and you can too. When your starter gets down to about 1/2 cup, simply feed it with equal parts flour and water (1:1:1 ratio). Cover loosely, and let it sit at room temperature for a few hours until it gets bubbly and active again. From there, you can use it for your next loaf or store it in the fridge until you're ready to bake. Simple, efficient, and no waste—just how sourdough should be!

Enjoy Your Freshly Baked Bread!

That’s it! You’ve made homemade sourdough—easy, healthy, and full of flavor. The best part is, once you get the hang of it, you can make it whenever you want. Whether you’re making sandwiches or just enjoying a slice with some butter, you’ll love how good it tastes.

Enjoy your freshly baked loaf, and happy baking! 🍞

Watch as Tracy Guides You Through the Process Step by Step.

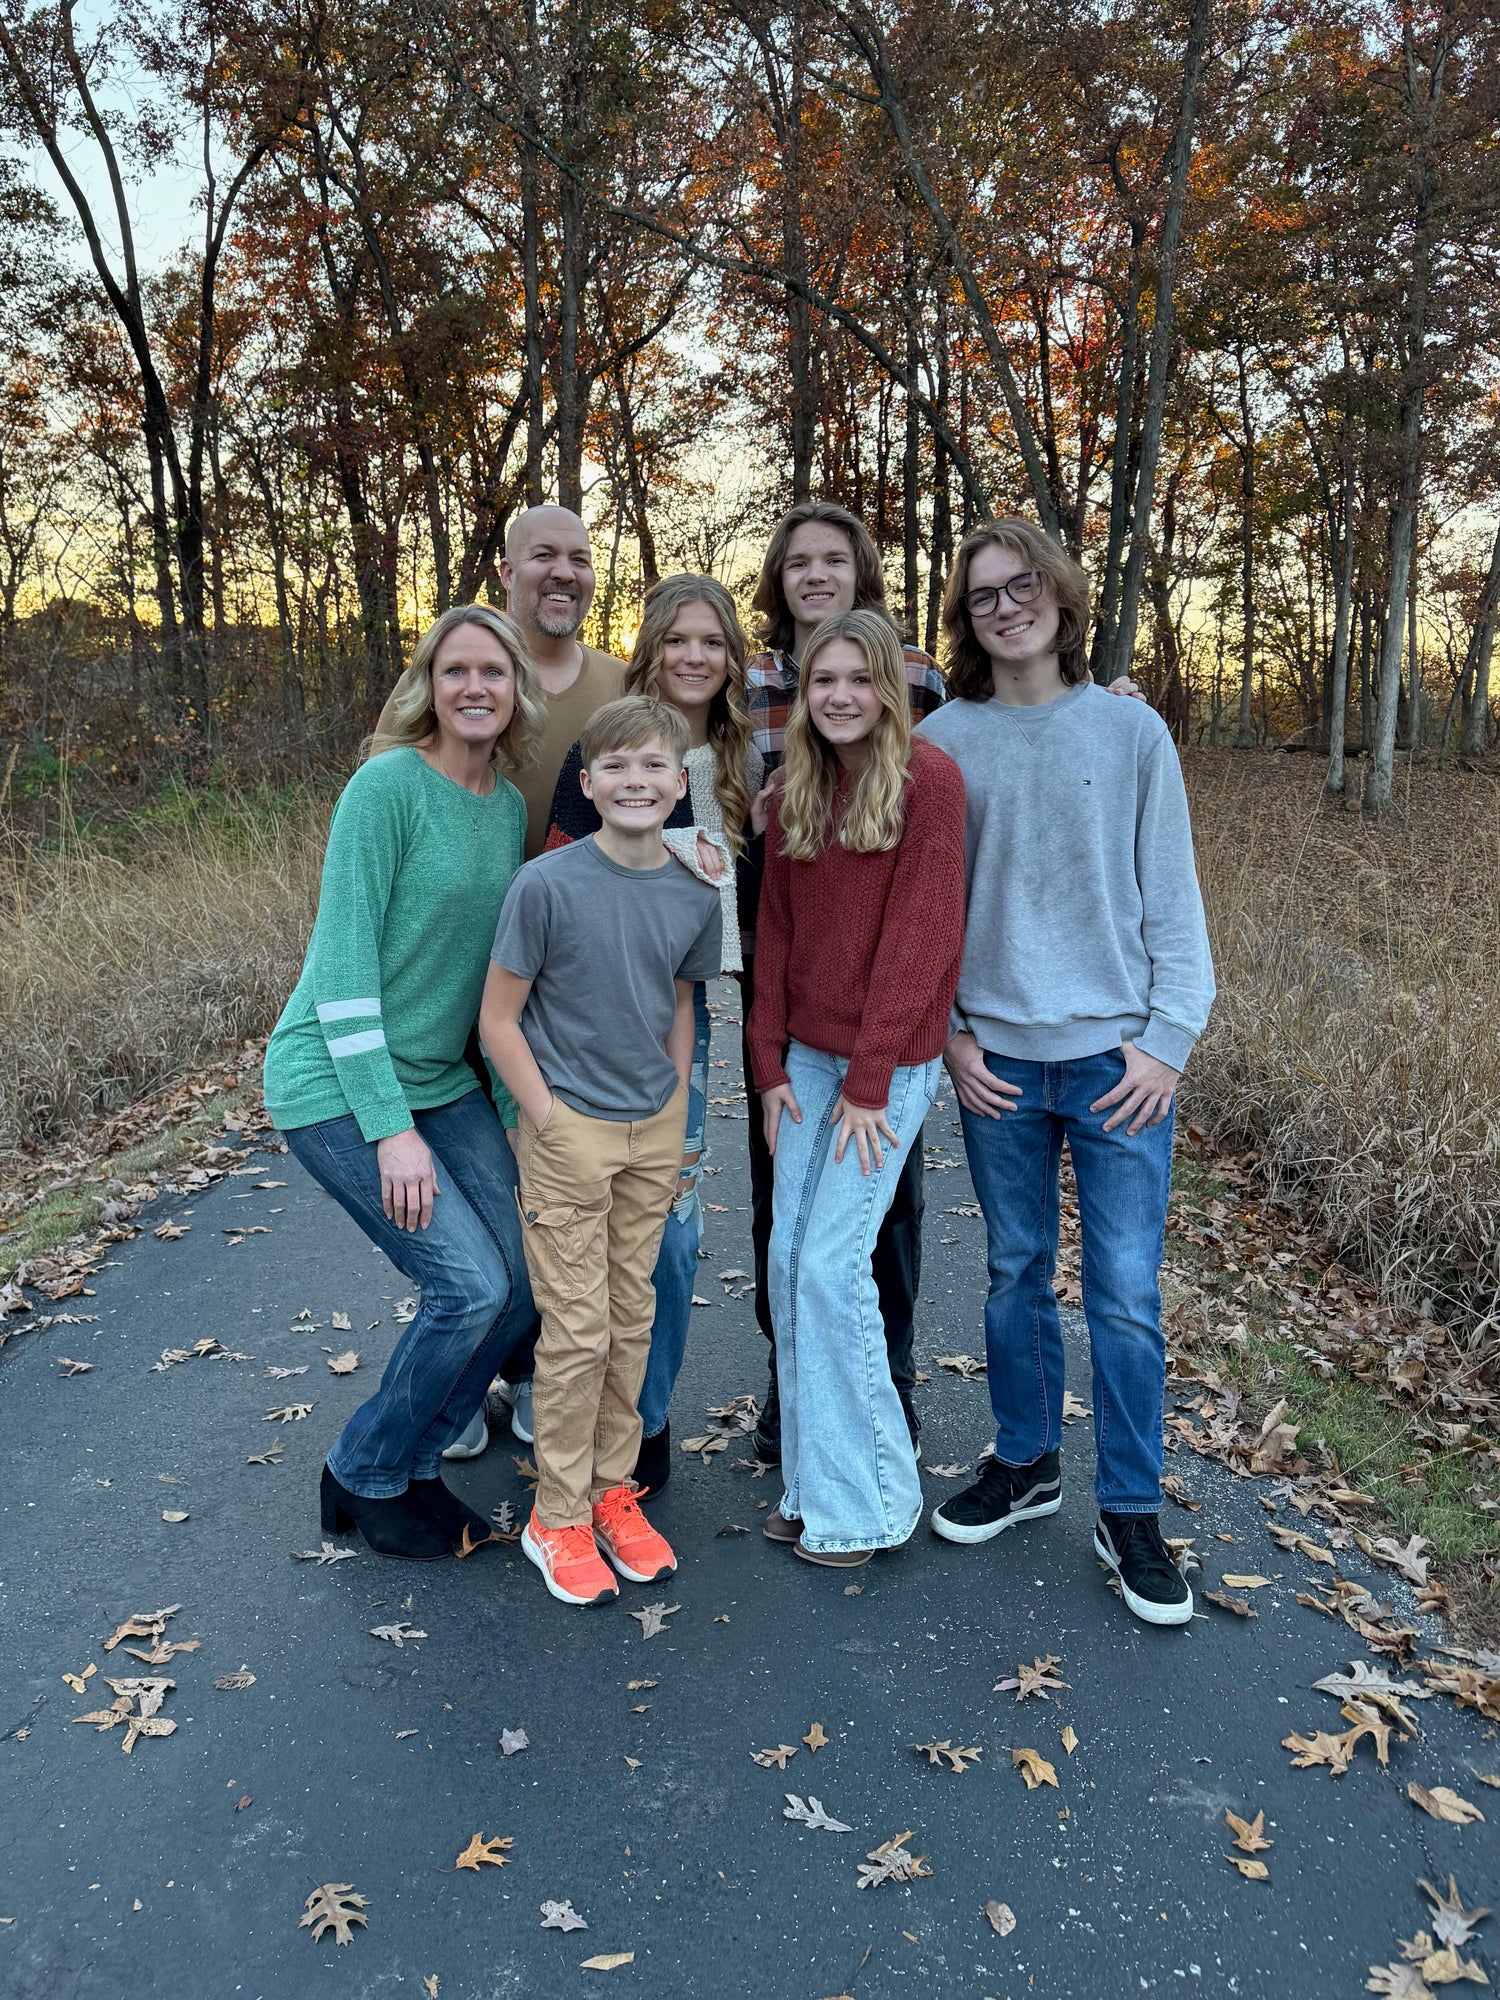
From My Kitchen to Yours: A Passion for Healthy Living

Hi there! I’m Tracy, and I’d love to share a little bit about myself. I’m a wife, a mom to five wonderful kids, and a follower of Jesus. Living a healthy lifestyle is something I’m really passionate about, and I love helping others achieve their healthiest lives too. Providing nourishing food for my family has always been a priority, but I’ll be honest—I’d much rather be outside enjoying God’s creation with family, friends, and my two dogs than spend all day in the kitchen!

I’ve always been fascinated by bread making, but as someone who doesn’t eat much gluten, it didn’t align with my lifestyle. That is, until I learned more about the benefits of fermented foods, including sourdough. Turns out, sourdough is easier to digest, causes less of a blood sugar spike, and can even support gut health. I was hooked!

As I started learning how to make it myself, I quickly got discouraged by the traditional process—constant feeding of the starter, and the need to either toss or find creative ways to use the discard. It just wasn’t appealing to me. But then, I was thrilled to discover a much simpler, waste-free method! Now, I only feed my starter when I need more for my next loaf, let it double in size, and store it in the fridge. When I’m ready to bake, I just pull out 113g of starter directly from the fridge—no fuss, no waste, and it works like a charm every time!

I’m excited to share this easy and sustainable sourdough starter with you, and I hope it helps make your baking experience as enjoyable and rewarding as it has been for me.

John 6:33, 35 "The true bread of God is the one who comes down from heaven and gives life to the world. Jesus replied, "I am the bread of life. Whoever comes to me will never be hungry again. Whoever believes in me will never be thirsty."